

This Easter, let’s bring joy to our gatherings with some festive Easter Cookies Decorated! These cookies are more than just treats; they’re edible canvases waiting for your creative touch. Imagine soft, buttery cookies glowing in pastel colors, perfectly shaped like bunnies, carrots, and eggs. With your family, you can make memories while crafting these special cookies. Whether it’s a quiet afternoon or a lively gathering, decorating cookies is a delightful way for everyone to join in—the perfect way to spark imagination and cheer! Plus, they taste as good as they look, and who doesn’t love a sweet treat during the Easter celebrations? So, roll up your sleeves, grab your cookie cutters, and let’s embark on a delicious culinary adventure!
Jump to:
- Why This Recipe Works
- Why You’ll Love This Easter Cookies Decorated
- Ingredients
- Preparing the Cookie Dough
- Whisk Dry Ingredients Together
- Cream Butter and Sugar
- Add Egg and Extracts
- Combine Wet and Dry Ingredients
- Chilling the Dough
- Divide and Roll the Dough
- Refrigerate the Dough
- Baking the Cookies
- Preheat Oven
- Cut Cookie Shapes
- Bake Cookies
- Decorating the Cookies
- Prepare Icing
- Decorate Carrots and Bunnies
- Decorate Easter Eggs
- Serving Suggestions
- Tips for Success
- Variations
- Storage Tips
- FAQs
- More Easy Desserts Recipes:
- 📖 Recipe Card
Why This Recipe Works
This Easter Cookies recipe brings together soft, buttery dough with delightful flavors of vanilla and almond. The royal icing adds a professional touch, making every cookie a canvas for creativity. Chilling time ensures the cookies retain their shape while baking, allowing for beautifully decorated pastel treats that taste as good as they look.
Why You’ll Love This Easter Cookies Decorated
These Easter cookies are perfect for any festive gathering, from family celebrations to neighborhood events. The combination of fun shapes and vibrant colors will bring smiles to the faces of all ages. Not only are they pleasing to the eye, but the buttery texture and sweet flavor make them irresistible. Plus, decorating them can be a fun activity for kids and adults alike!
Ingredients
- 2 and 1/4 cups (281g) all-purpose flour, spooned & leveled, plus more for rolling
- 1/2 teaspoon baking powder
- 1/4 teaspoon salt
- 3/4 cup (170g) unsalted butter, softened to room temperature
- 3/4 cup (150g) granulated sugar
- 1 large egg, at room temperature
- 2 teaspoons pure vanilla extract
- 1/2 teaspoon almond extract (optional)
- For Decorating:
- Royal icing or easy cookie glaze icing
- Gel food coloring
- Sanding sugar sprinkles
- Mini marshmallows, halved (for bunny tails)
Preparing the Cookie Dough

Whisk Dry Ingredients Together
First, in a medium bowl, whisk together the flour, baking powder, and salt. It’s a simple step that ensures the dry ingredients are well blended. Set this mixture aside for now.
Cream Butter and Sugar
Next, grab a large bowl and use a mixer to beat the softened butter and sugar on high until creamy. This will take about 2 minutes. The light, fluffy texture plays a key role in creating those delicious cookies!
Add Egg and Extracts
Now, it’s time to add the egg, vanilla, and almond extract (if you’re using it) to the butter mixture. Beat everything together until well combined, creating a flavorful base for your dough.
Combine Wet and Dry Ingredients
Gradually mix the dry ingredients into the wet ingredients on low speed. This method helps blend the two mixtures without flour flying everywhere! If the dough seems a bit too sticky, just add another tablespoon of flour to help it come together.
Chilling the Dough
Divide and Roll the Dough
Once your dough is formed, split it into two equal portions. On a floured surface or a piece of parchment paper, roll each portion out to about 1/4-inch thick. Try to keep it as even as possible so that all the cookies bake nicely.
Refrigerate the Dough
Next, layer one piece of rolled dough between parchment paper and cover it with plastic wrap. You’ll need to chill it in the refrigerator for at least 1–2 hours, though you can keep it there for up to 2 days. This step is crucial for keeping the cookies in shape while baking.
Baking the Cookies
Preheat Oven
When you’re ready to bake, preheat your oven to 350°F (177°C) and line your baking sheets with parchment paper. This preparation will help prevent the cookies from sticking.
Cut Cookie Shapes
Remove the dough from the refrigerator, and using your favorite cookie cutters, cut out shapes. Arrange them on the prepared baking sheets, leaving about 3 inches between each one. This spacing allows them to expand while baking without merging together.
Bake Cookies
Bake the cookies for 11-12 minutes or until they are lightly browned at the edges. When the timer goes off, let cookies cool on the baking sheet for 5 minutes before carefully transferring them to a wire rack. This cooling helps keep their shape intact.
Decorating the Cookies
Prepare Icing
While the cookies are cooling, prepare your icing. You can use royal icing or an easy cookie glaze. If you want to create detailed designs, piping bags are a great choice for easier application.
Decorate Carrots and Bunnies
Start by outlining and flooding the cookies with white icing. This base layer helps give a beautiful finish. While the icing is still wet, sprinkle over some sanding sugar for a sparkly effect. Don’t forget to add those halved marshmallows for cute bunny tails!
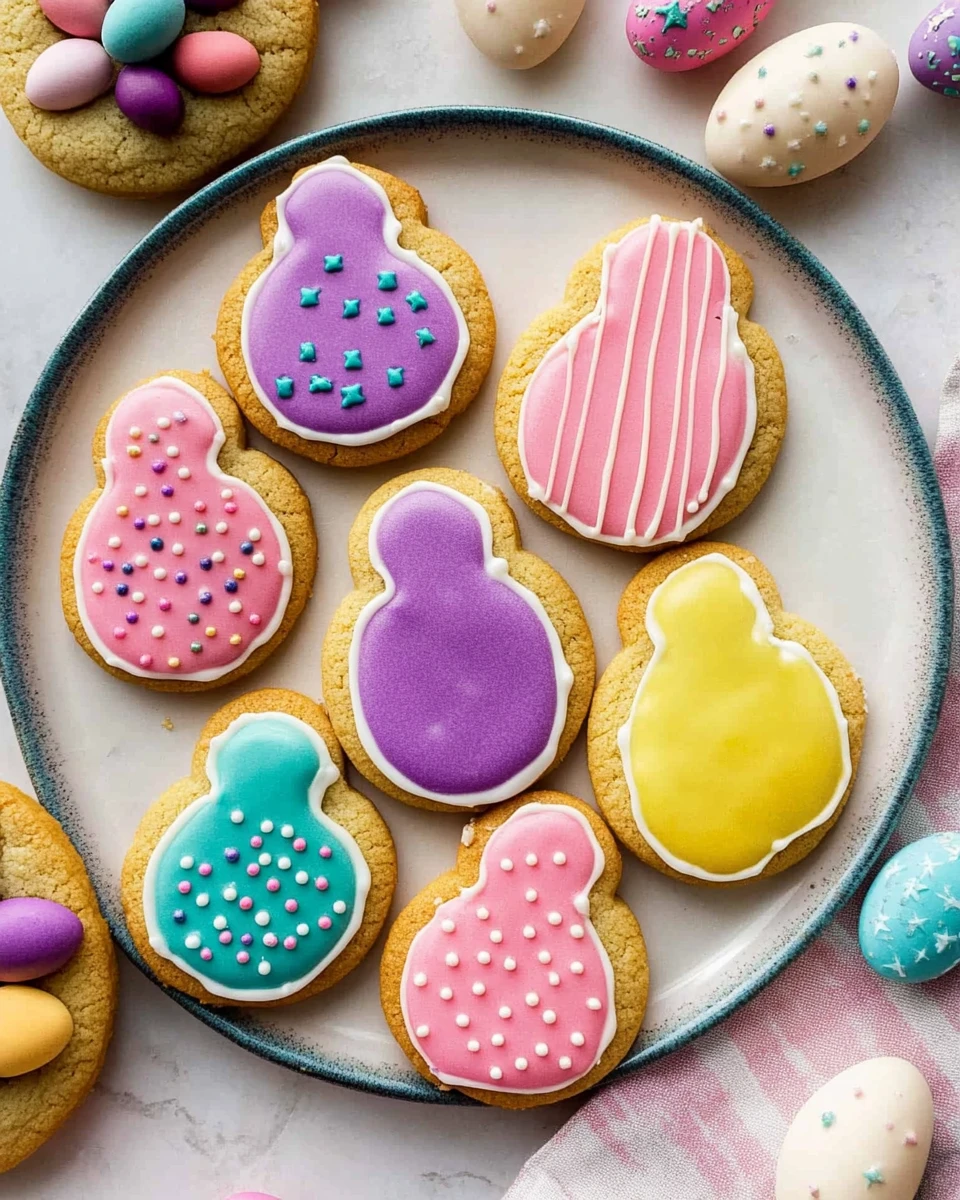
Decorate Easter Eggs
With your various colors of royal icing, outline and flood the egg shapes. Once the base dries a little, you can get creative! Try adding decorative touches like polka dots or stripes. Let the cookies fully dry to ensure beautiful designs.
Serving Suggestions
Once you finish decorating these delightful cookies, serve them as a sweet treat for your spring festivities! They’re not only adorable, but they also taste amazing. Whether enjoyed fresh or saved for later, these cookies will surely impress.
Tips for Success
- Make sure all ingredients are at room temperature for optimal mixing.
- Use gel food coloring for vibrant icing hues.
- Allow decorated cookies to sit at room temperature to dry properly before stacking.
Variations
Feel free to experiment with flavors! You can substitute almond extract with lemon or orange zest for a bubbly citrus twist. Moreover, switching up the cookie shapes will allow you to celebrate other holidays and occasions too!
Storage Tips
Store your decorated cookies at room temperature in an airtight container for up to 5 days. If you want to keep them longer, refrigerate them for up to 10 days. Just ensure they are well-covered to maintain their softness.
FAQs
1. Can I freeze the cookie dough?
Yes, you can. Wrap the unbaked cookie dough tightly in plastic wrap and place it in a freezer bag. It will keep for up to 3 months.
2. How long do these cookies last?
When stored properly, the cookies will stay soft for about 5 days at room temperature. If refrigerated, they can last up to 10 days.
3. Can I use store-bought icing?
Definitely! Store-bought icing can save time in decorating, though making it from scratch allows for flavor and color customization.
4. What’s the best way to transport decorated cookies?
Make sure the icing has fully set before layering cookies between sheets of parchment paper in an airtight container. This way, they’ll stay intact during transport!
5. What can I use instead of royal icing?
You can try glaze icing, but remember it won’t dry as hard as royal icing. This difference may affect how long your decorations last.
These Easter Cookies Decorated serve as a wonderful way to express creativity while celebrating the joys of the season. They’re perfect for sharing with friends and family, bringing extra cheer to any gathering. Enjoy the sweet moments spent baking, decorating, and indulging in these delightful treats!
More Easy Desserts Recipes:
Did You Enjoy Making This Recipe? Please rate this recipe with ⭐⭐⭐⭐⭐ or leave a comment.
📖 Recipe Card
Print
Easter Cookies Decorated
These Easter cookies are a delightful blend of soft, buttery dough and sweet flavors, perfect for family gatherings or festive celebrations. With fun shapes and vibrant decorations, they offer a fun activity for all ages, creating joyful memories while indulging in a delicious treat.
- Total Time: 42 minutes
- Yield: 24 cookies 1x
Ingredients
- 2 and 1/4 cups (281g) all-purpose flour, spooned & leveled, plus more for rolling
- 1/2 teaspoon baking powder
- 1/4 teaspoon salt
- 3/4 cup (170g) unsalted butter, softened to room temperature
- 3/4 cup (150g) granulated sugar
- 1 large egg, at room temperature
- 2 teaspoons pure vanilla extract
- 1/2 teaspoon almond extract (optional)
- Royal icing or easy cookie glaze icing
- Gel food coloring
- Sanding sugar sprinkles
- Mini marshmallows, halved (for bunny tails)
Instructions
- Whisk together flour, baking powder, and salt in a medium bowl.
- Cream butter and sugar until fluffy.
- Add egg and extracts to the butter mixture, mixing well.
- Gradually combine wet and dry ingredients.
- Divide dough, roll out to 1/4-inch thick, and refrigerate for 1-2 hours.
- Preheat oven to 350°F (177°C) and line baking sheets.
- Cut shapes from chilled dough and arrange on baking sheets.
- Bake for 11-12 minutes until edges are lightly browned.
- Cool cookies before decorating with icing and sprinkles.
Notes
Ensure all ingredients are at room temperature for best mixing.
Using gel food coloring will provide vibrant hues for icing.
Allow decorated cookies to dry completely at room temperature before stacking.
- Prep Time: 30 minutes
- Cook Time: 12 minutes
- Category: Dessert
- Method: Baking
- Cuisine: American
Nutrition
- Calories: 130
- Sugar: 6g
- Sodium: 40mg
- Fat: 7g
- Saturated Fat: 4g
- Unsaturated Fat: 2g
- Trans Fat: 0g
- Carbohydrates: 15g
- Fiber: 0g
- Protein: 1g
- Cholesterol: 25mg


